This post is also available in: Spanish
You guys I’m SO excite about this vintage chair makeover post! As many of you know, I LOVE chairs and lately I’ve been on a vintage chair makeover spree. I don’t mess around with antiques or rare vintage finds that are in good condition. My thing is finding not so special vintage pieces and transforming them into something special and unique. Something that for sure does not look like something anyone can buy at a store. To each its own, but for me that’s no fun at all.
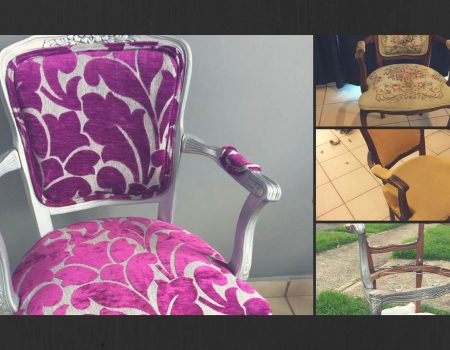
*Disclaimer: At this time my garage looked like a thrift store. What you see on the back is the three pieces of a French style sectional I am preparing for my mom. That’s been the hardest but is a big labor of love and I will be one happy girl when I finish it and redo my 79 year old mom’s living room. Just writing this got me teary eyed! Also, when I worked on this makeover I wasn’t writing about my diy projects, so I did not take a picture of the chair before I painted it. But for illustration purposes, I’ll use this image which is another chair I worked on and has a very similar shape. However, the one I’m writing about ended up being in really bad shape.
So, back to chairs! I saw a post on a Facebook sales group of 6 dining room chairs that were up for sale and were a good deal. So I bought them. The initial plan was to upholster them in a velvet fabric. But leave the original color of the paint.
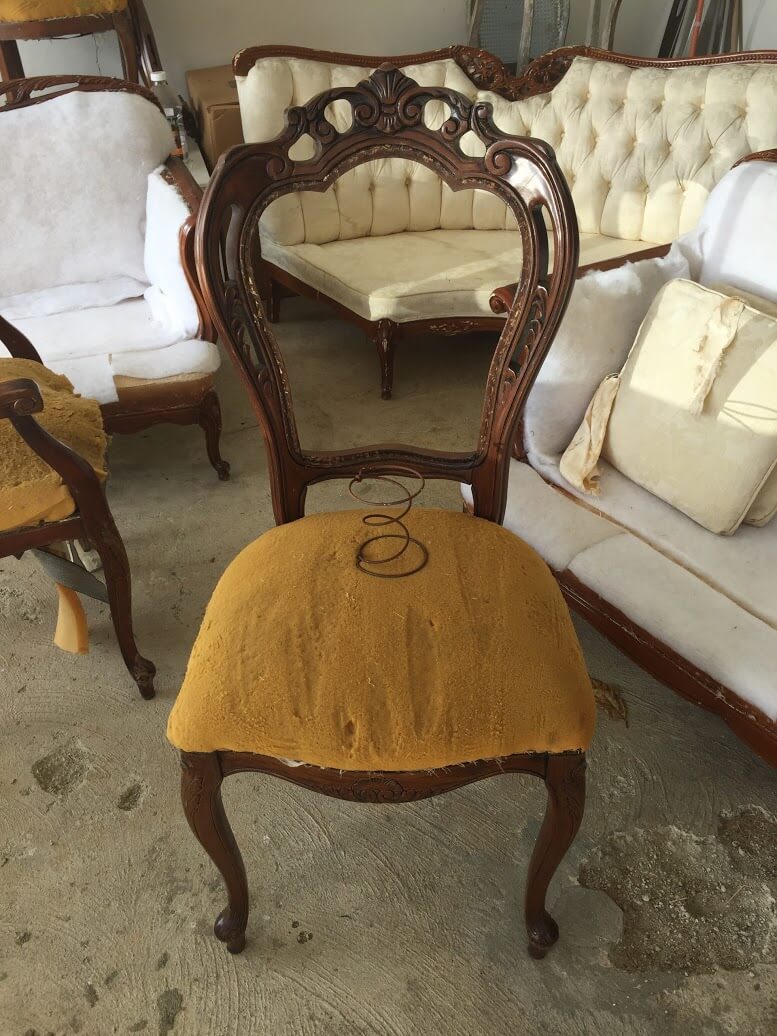
HA! Wishful thinking. As soon as I started removing the fabric the paint started coming off! Hmm that is SO not what I had in mind but I was not going to throw them in the trash. So off I went to buy some paint stripper. I was pretty confident as I had used it in another chair and it worked out beautifully! Well, not this time. Apparently the chair had some type of lacquer finish and the stripper was not working. And the curves and details of the chair made if a nightmare to sand. This was really turning into DIY hell. Not good. Many layers of stripper later I still had a long way to go. So I figured my only option was to sand as best as I could, paint and hope for the best.
I went out to buy the paint. And while I was at it, it occurred to me that it was probably a good idea to use an enamel spray paint. The reasoning was:
- there was no way in hell I was going to do anything that required even more work than what I had put in this chair already.
- I figured that an enamel spray would be thick enough to kind of help the uneven surface due to sanded areas and not sanded areas go unnoticed.
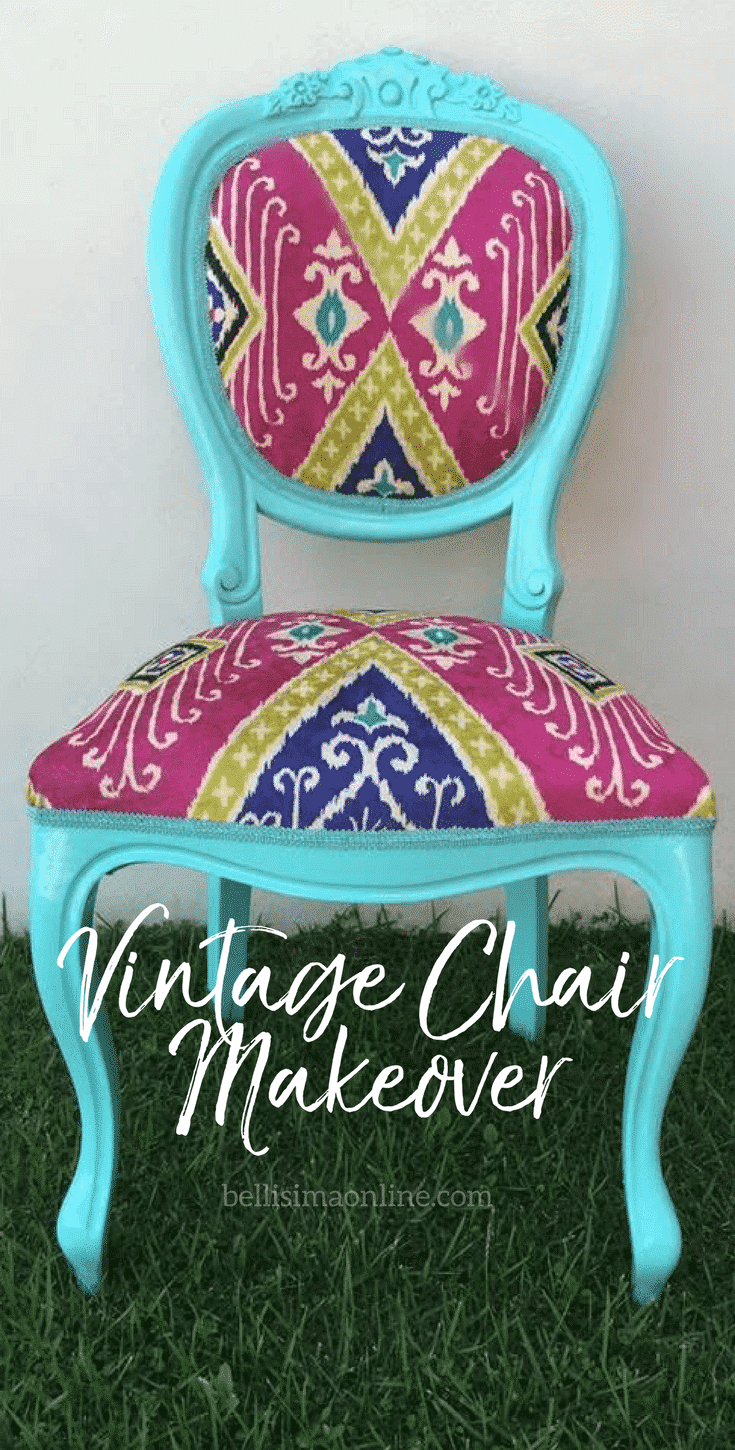
And then as I was looking at the spray enamel paints, I saw a whole bunch of really pretty colors. And some intense, crazy ones too. By now I figured… what the heck, I REALLY have nothing to lose with this chair. It’s really a mess anyway! So I chose a shiny, turquoise paint. I then went to one of the places where I buy my fabrics. And I decided that if I was going to go crazy with the chair, I’d go all out crazy. 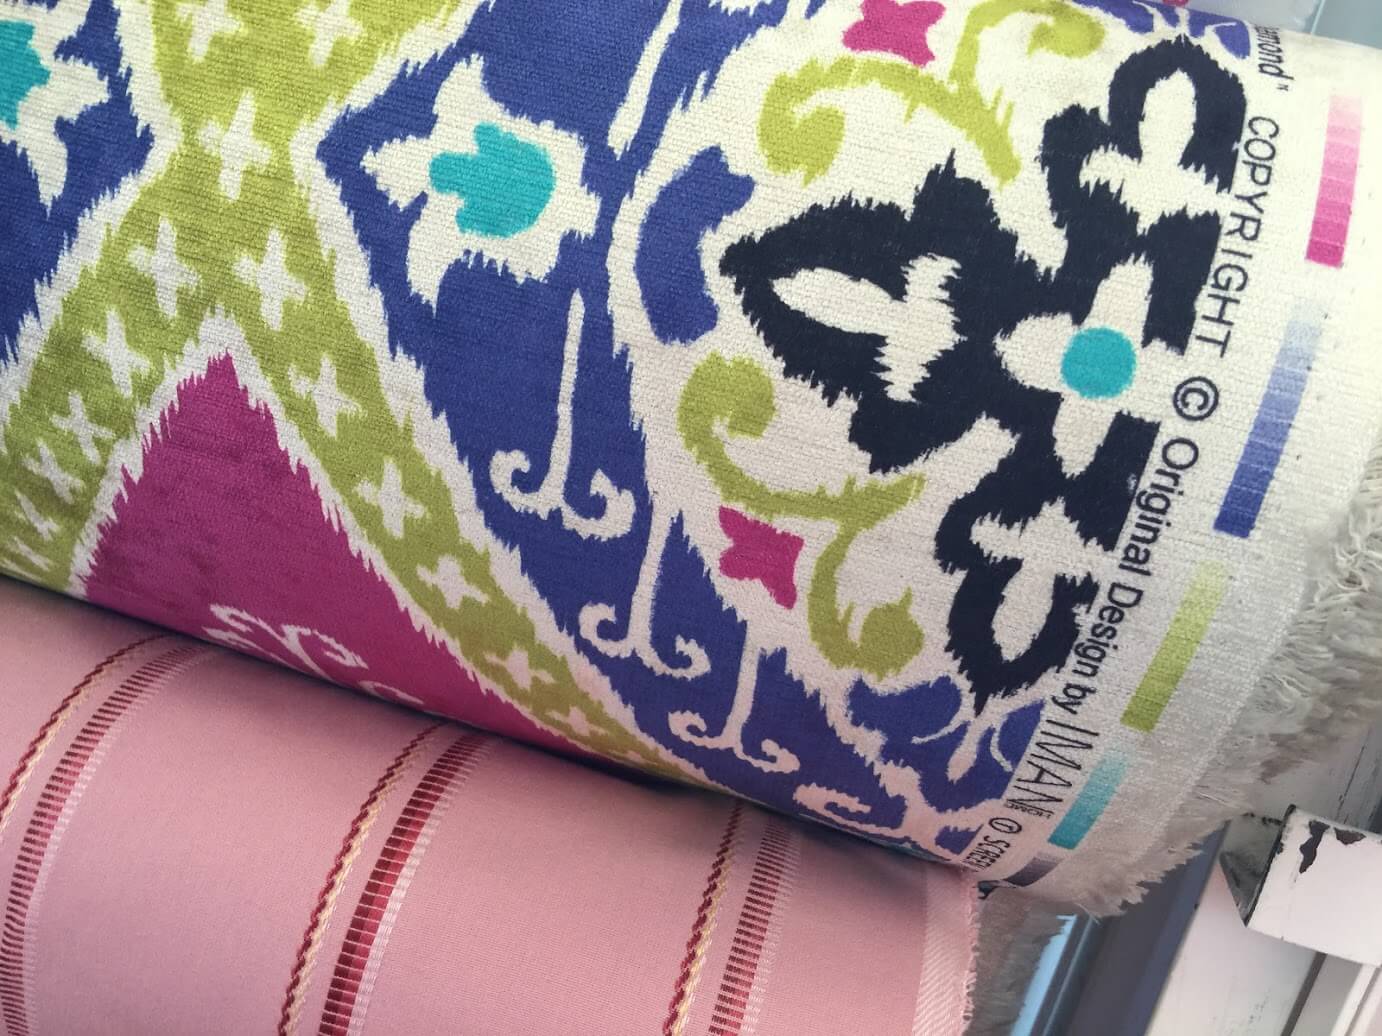
I fell in love with this beautiful, crazy Iman fabric. And you guys get this…. I bought the fabric for $17.99 per yard and at that time it was $35 per yard everywhere else. SCORE!
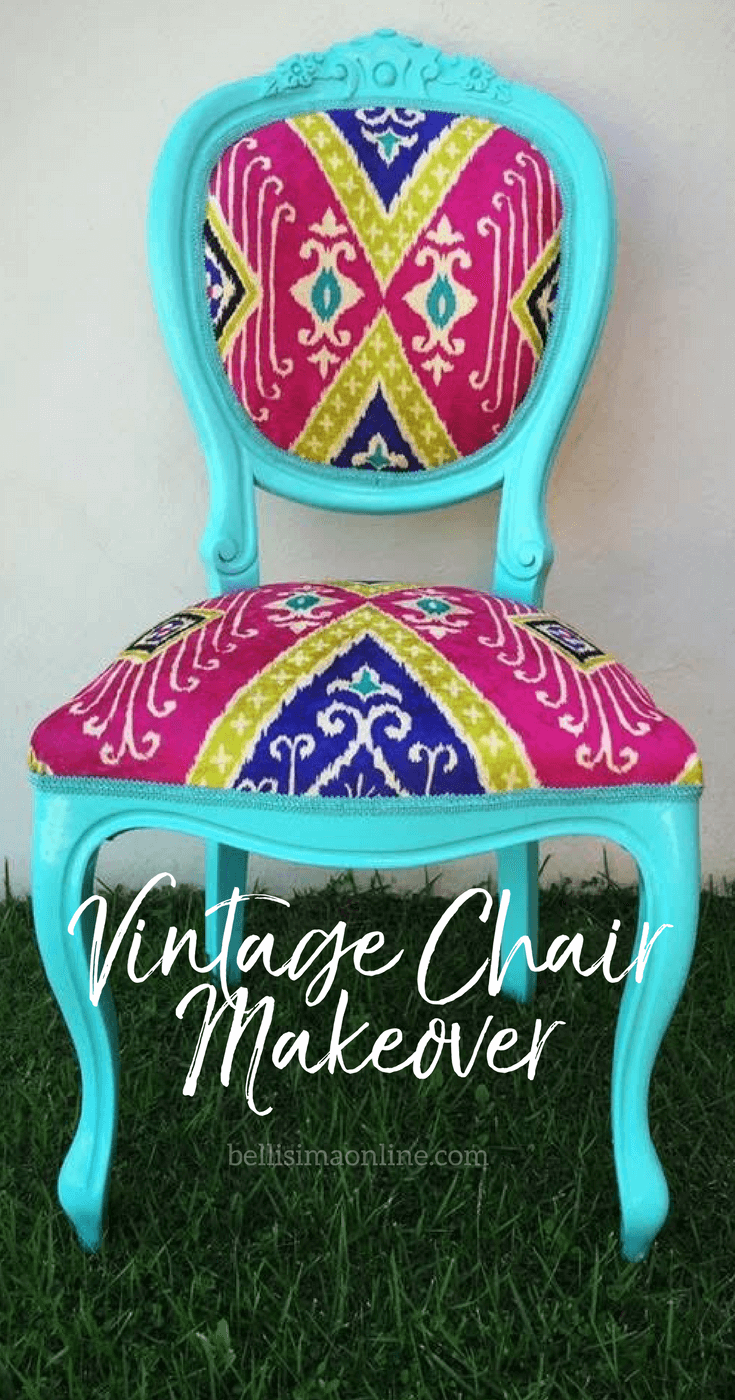
I got home and I honestly wasn’t sure if the vision I had with the bright colored paint and the colorful fabric would work out or if it would be too much. There was only one way to know, so I started painting it. With that type of paint, you want to make sure you wait hours before you give the next coats.
I left the chair dry the whole night, then upholstered and this is how what started as DIY hell ended being one of my favorite chairs ever and an awesome vintage chair makeover!
If you liked this vintage chair makeover and are thinking about DIYing a chair makeover, check this chair makeover tutorial.