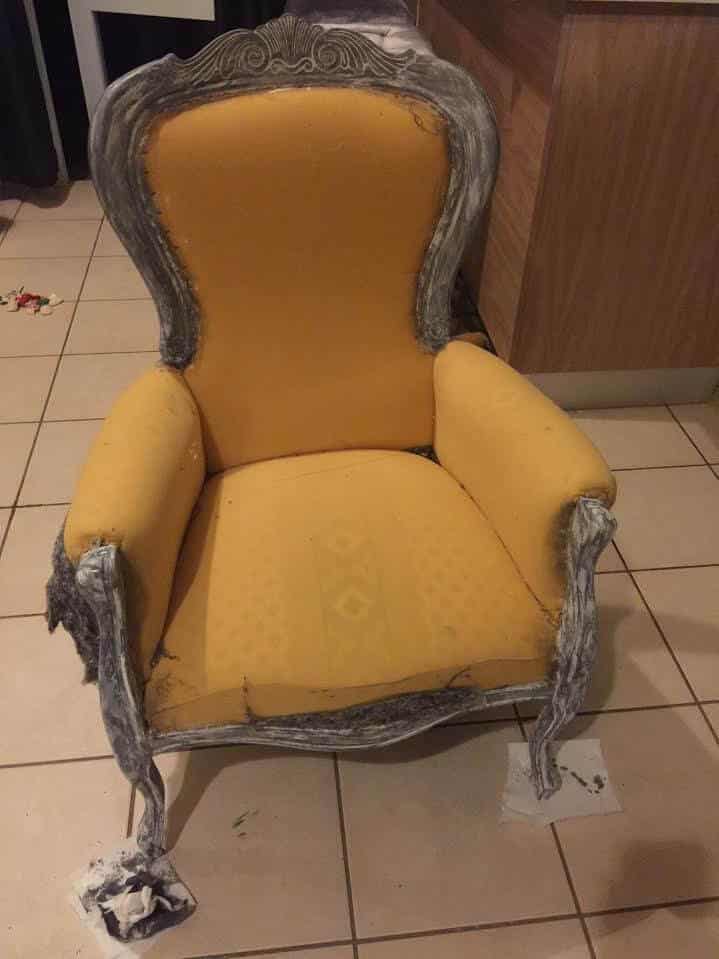
Just to refresh memory, this is where we stayed in the Part 1 post of how to reupholster a Victorian armchair tutorial. If for some reason you happened to land on the second part of this tutorial, read the first part.
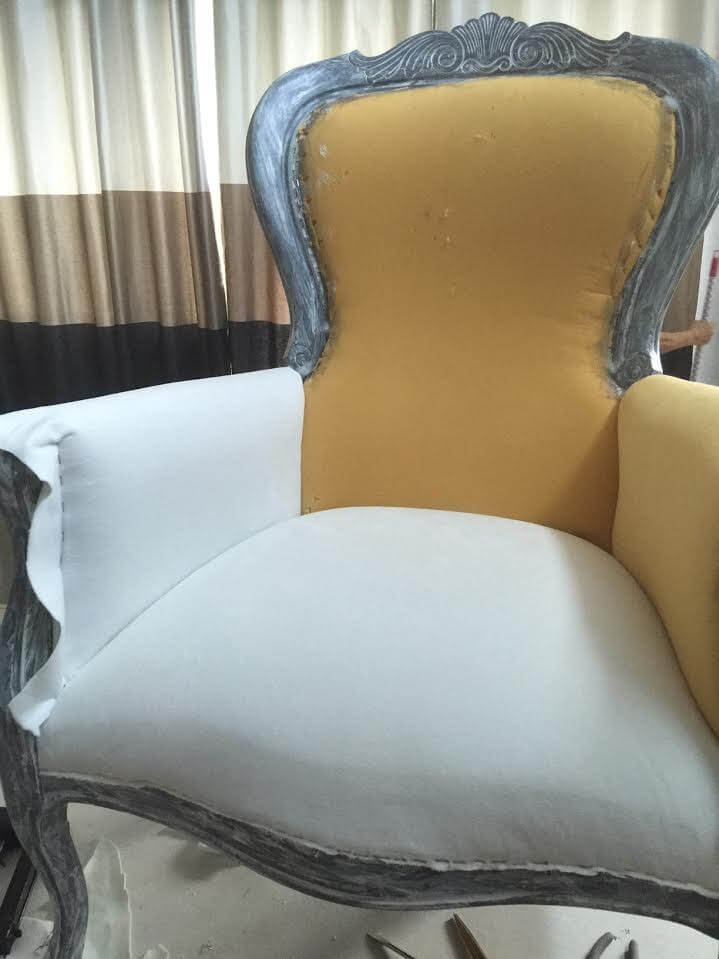
After letting the paint dry overnight, the next day I started stapling some batting and then fabric on the back. BIG. MISTAKE. I had just covered the area I needed open to attach the seat fabric and the back panel. That meant I had to remove the staples and the batting again. Not fun. But I did not need to remove the whole panel. Just the bottom part. That was enough to give me some room to work on that area and fix the mess.
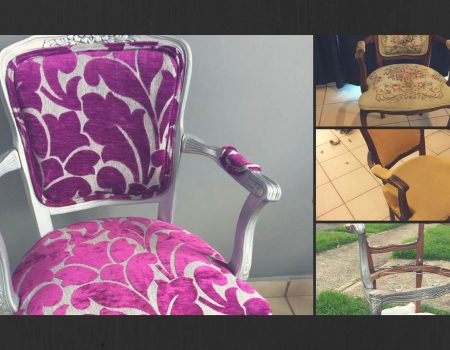
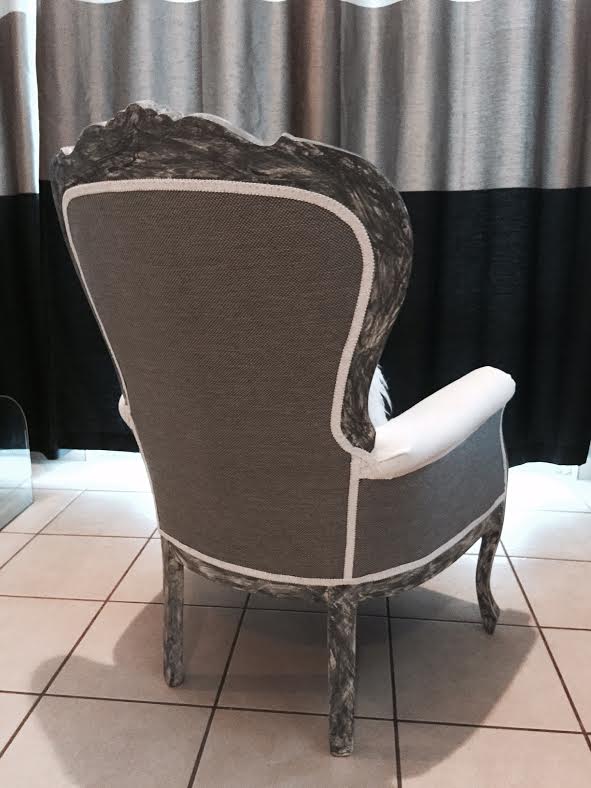
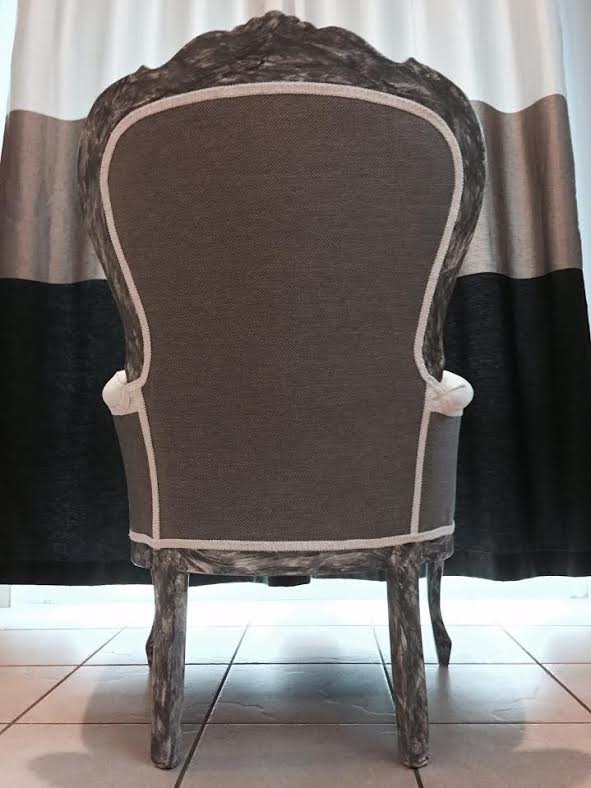
I wanted the chair to look stylish but different than what you usually find in stores. So I also chose two use two different fabrics and make the chair’s seat, arms and back white with a suede fabric and the back and outer/lower part of arms a gray color that had some texture. I was trying to follow inspiration I found on Pinterest, especially from Miss Mustard Seed (Check her Pinterest) and other bloggers. After all, they inspired me to dare and try to upholster in the first place. Their tutorials and posts full of info are really helpful. At this point my back was starting to yell at me and I figured it was a much smarter idea to work without having to bend so much. So I used an old table work in a healthier position.
Featured articles
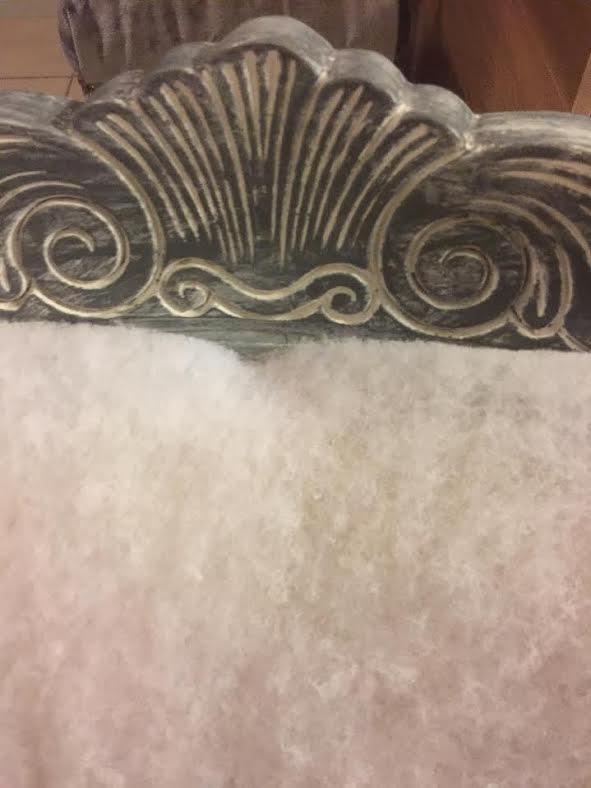
Isis Casalduc Bellisima https://www.bellisimaonline.com/wp-content/uploads/2018/12/marcas-de-maquillaje-que-no-hacen-pruebas-en-animales-1.png 1600 1000 Isis Casalduc Bellisima https://www.bellisimaonline.com/wp-content/uploads/2018/12/marcas-de-maquillaje-que-no-hacen-pruebas-en-animales-1.png 1600 1000 Isis Casalduc Bellisima https://www.bellisimaonline.com/wp-content/uploads/2018/04/receta-bolitas-de-queso-fritas.jpg 1200 420 Isis Casalduc Bellisima https://www.bellisimaonline.com/wp-content/uploads/2018/01/maquillaje-bien-económico-2-1-1200x420-2.jpg 1200 420 Isis Casalduc Bellisima https://www.bellisimaonline.com/wp-content/uploads/2018/01/ideas-de-meriendas-saludables.jpg 1200 420 Isis Casalduc Bellisima https://www.bellisimaonline.com/wp-content/uploads/2018/11/DIY-agate-drawer-pulls-1.png 1600 1000 Isis Casalduc Bellisima https://www.bellisimaonline.com/wp-content/uploads/2018/01/ideas-decoracion-para-la-habitacion.png 653 416 Once I sorted the issue on the back, I started to upholster the arms.
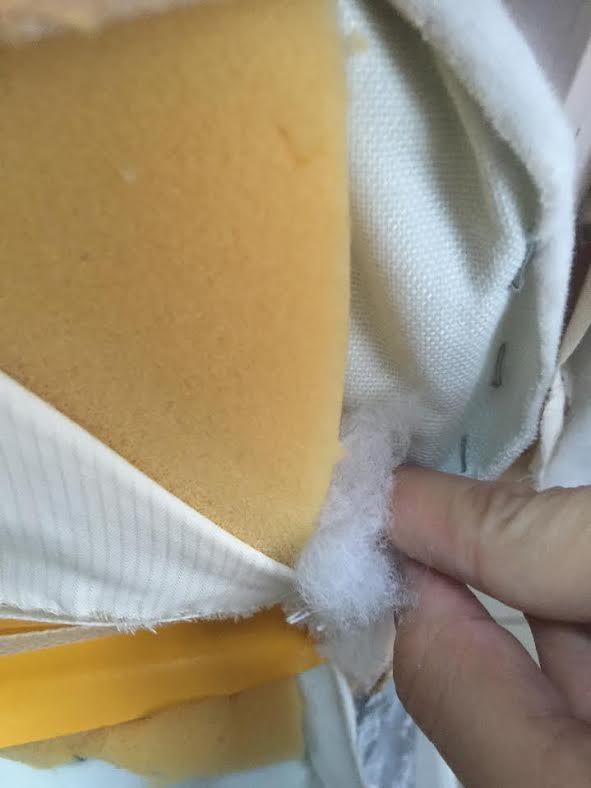
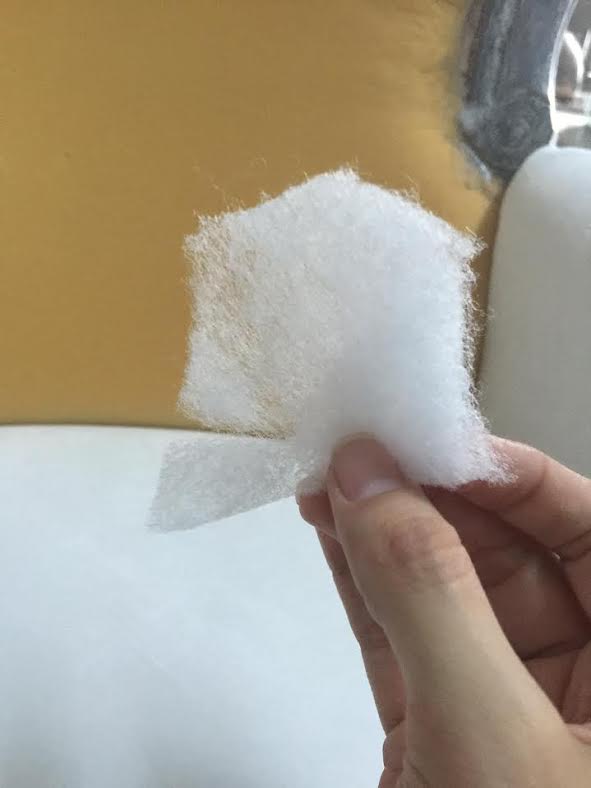
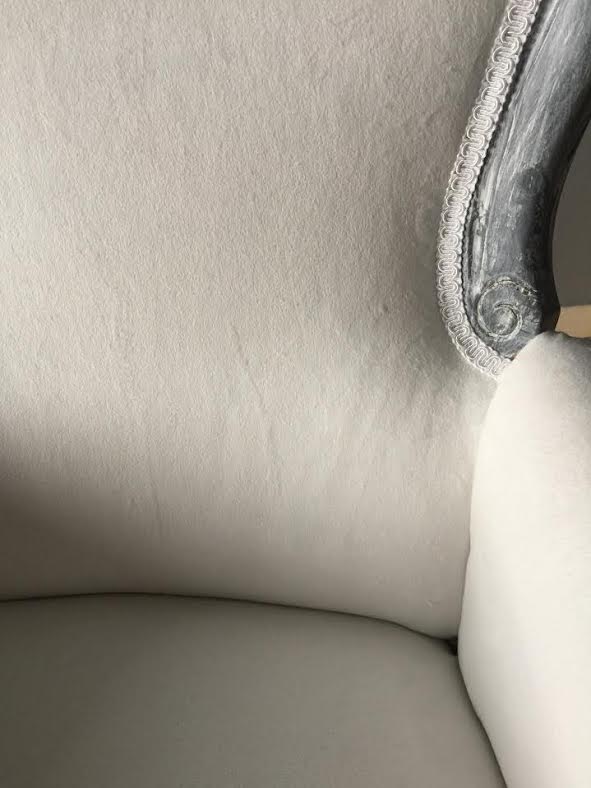
There was a small area between the back and side panels of the foam where foam was a bit uneven and being the nut case I can be, fixating on the weirdest things, it drove me bonkers thinking people would be able to see it. So of course I was not happy until I fixed it. I just grabbed pieces of batting and stuffed the area with it until I felt it was smooth enough.
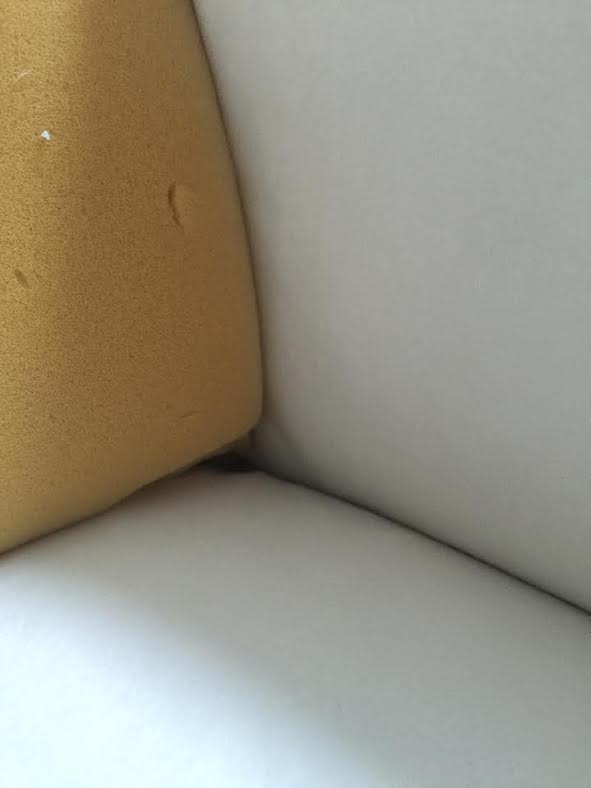
Ok, order of the Universe was restored at that moment. 
Then the inner part of the chair. Stapled some batting. Starting at the top, then bottom and then both sides at the center to make it snug. Then stapled fabric.
After this step, I added some batting to the outer part of the arms. I created some tension on the batting and then cut the extra batting.
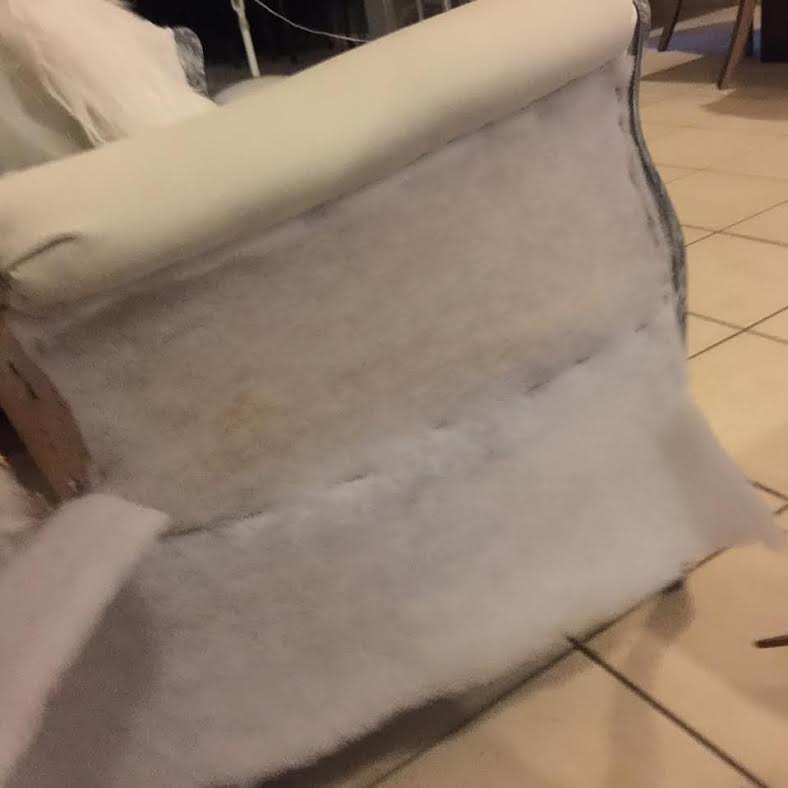
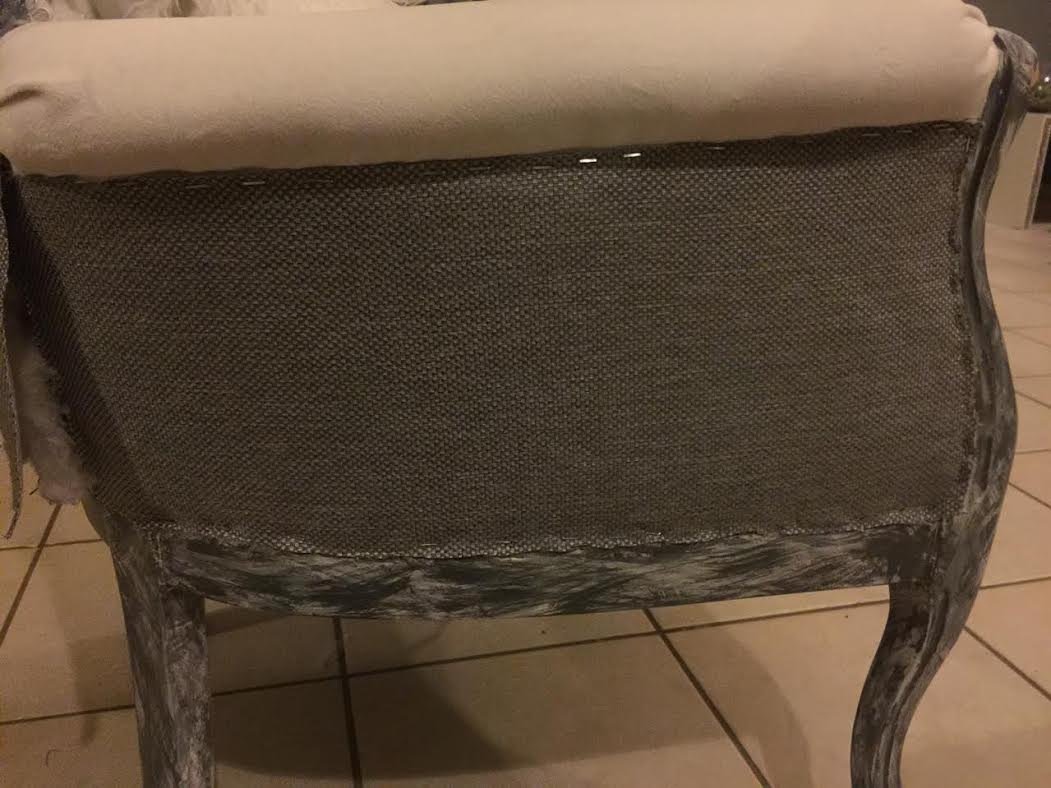
Next step was stapling the fabric on both sides and on the back.
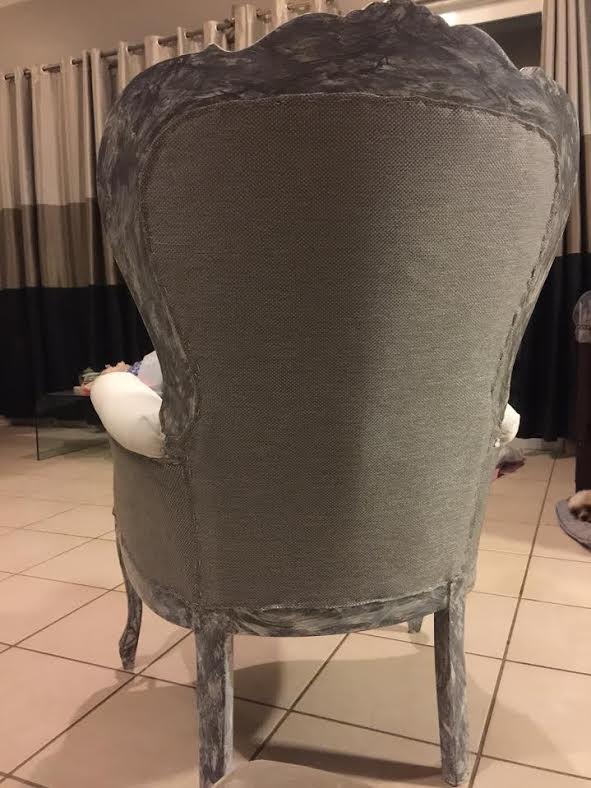
And if you look closely, one of my dogs made a cameo. Such a hard worker when his human gets some stuff done…
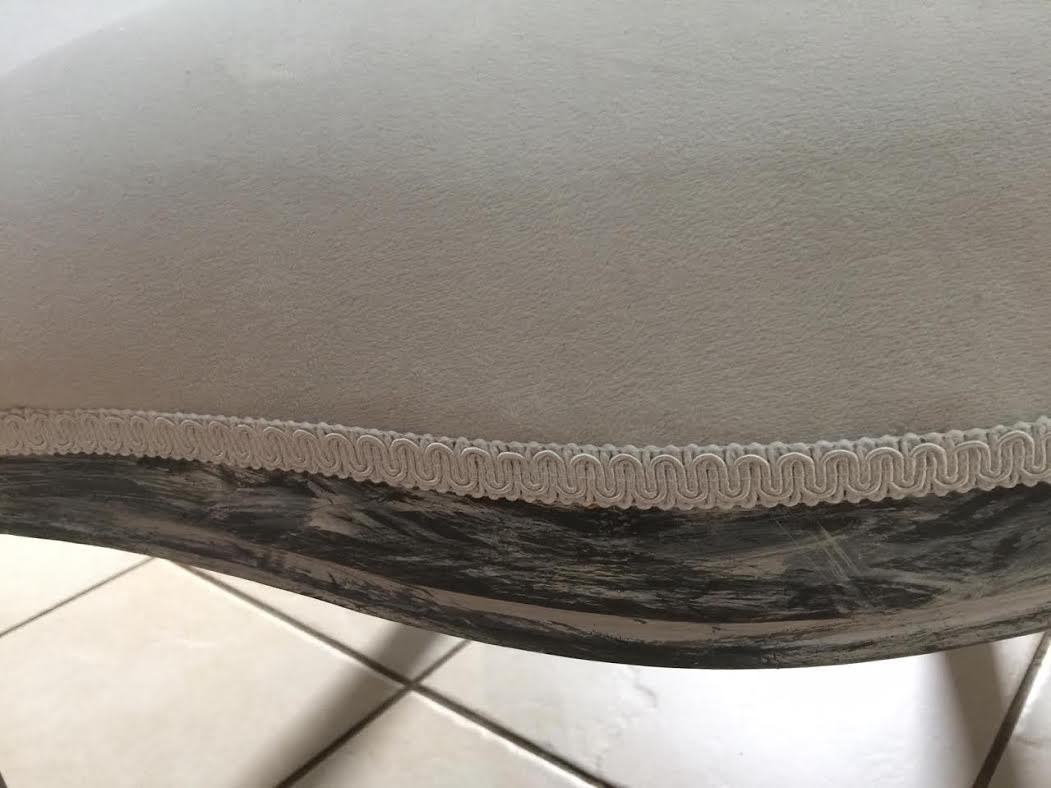
Almost finished! Now all that’s missing is some trim to cover the staples. I decided on white. I figured it would create a nice contrast with the gray fabric on the sides/back.
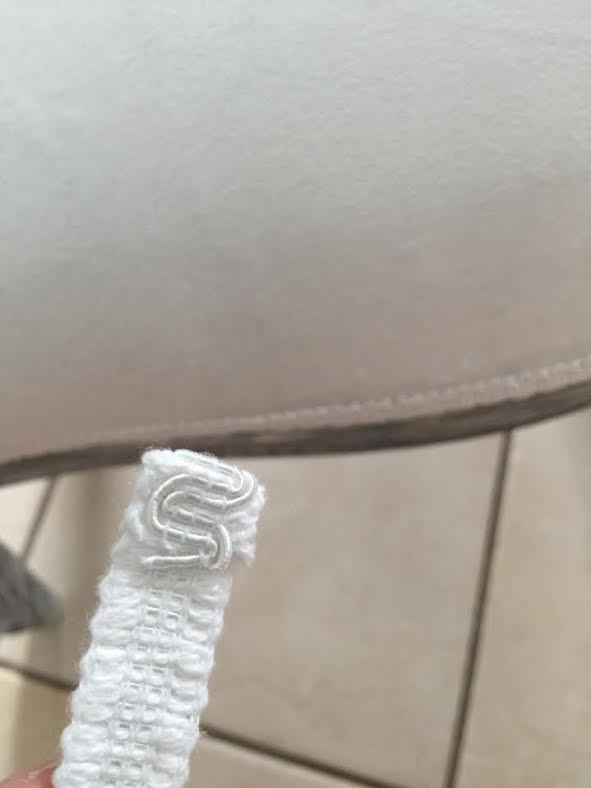
I used a hot glue gun. And got a few burns too. -.-. I started adding a little dot of glue at the end of the trim so it won’t shred. Then I just kept gluing the trim very carefully making sure to cover the staples.
And then I got to one of those funky corners. Trying to figure out how to secure the trim but at the same time give it a nice finish. So I pushed the foam down as much as I could and glued the trim as deep as I could.
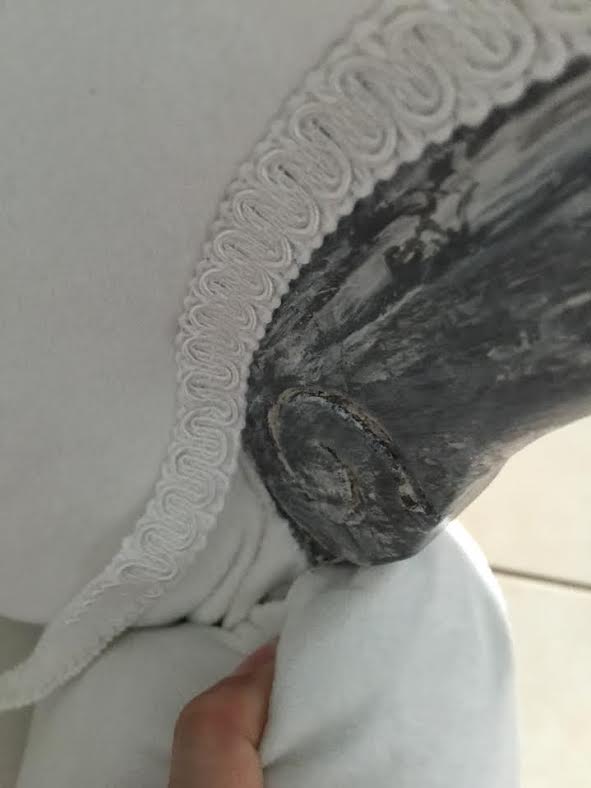
Once it was glued, i just released pressure off foam and finish was kinda flawless :).
I won’t get tired of writing this but pictures will save your life when learning how to reupholster a Victorian armchair and trying to remember where you are supposed to add some trim and where you are not supposed to! You can always change things around a little bit, but there are some areas that are not meant for having trim glued.
And… *drumroll*
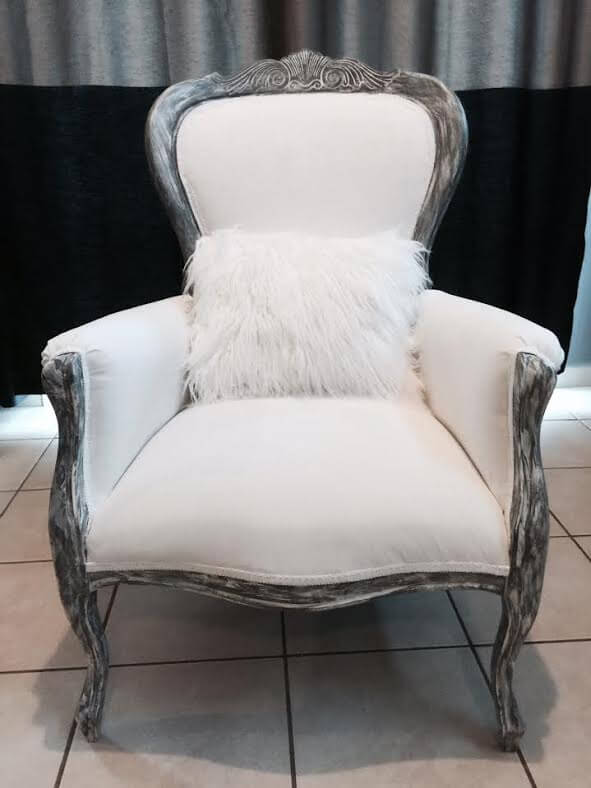
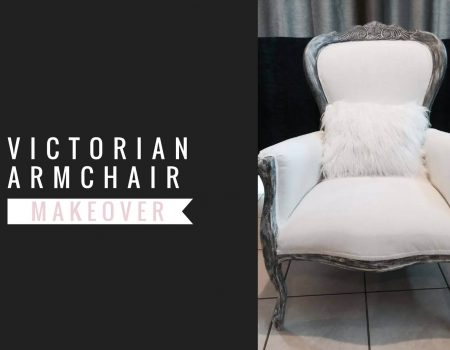
Here she is you guys. The thrift shop chair, a lot of sweat and (almost) tears, in all its glory! If you liked this tutorial on how to reupholster a victorian armchair, subscribe to our mailing list! 🙂